When I was learning about mountain climbing, I was a bit overwhelmed by all the tools and equipment. How many types were there? How do they look like? I wished there was an easy way I could learn about them.
Surprisingly, I couldn’t find such a resource. So I’ve decided to put one together.
As you learn more about mountain climbing, you will understand more about each tool and how to use them. But for a beginner, I found it useful just to familiarize myself with the names of these tools and how they look like. These will come in very handy when you’re reading books or articles about mountain climbing.
This is Part 3 of 5 of the Introduction To Mountain Climbing Mini-series:
Part 1: How To Start Mountain Climbing Today
Part 2: When Do You Need Mountain Climbing Courses
Part 3: Mountaineering Tools And Equipment 101
Part 4: What To Bring For Mountain Climbing
Part 5: What Are The Dangers Of Mountain Climbing
Save these handy cue cards to Pinterest!
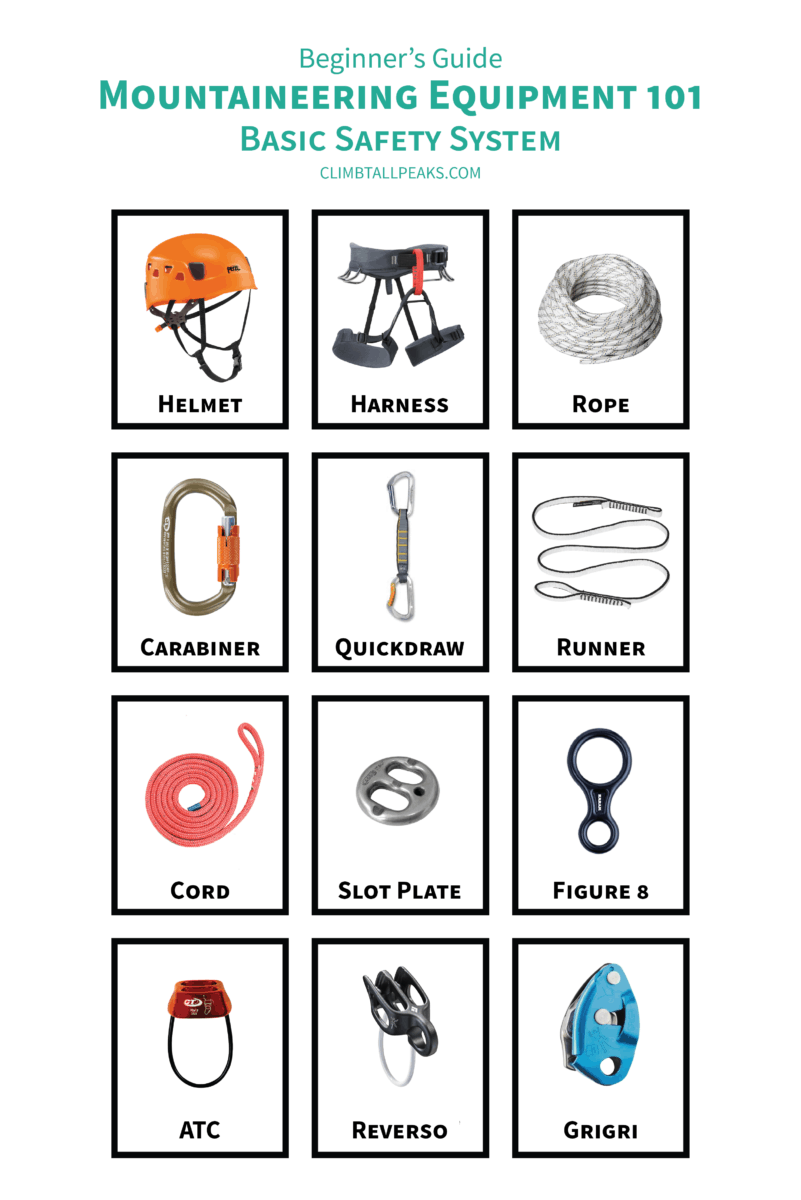
Helmet
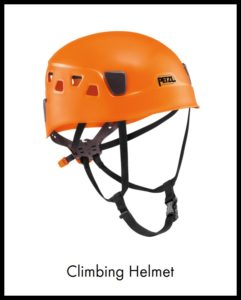
Climbing helmets are to protect you from any head injuries. And the risks of head injuries during a climb are probably a lot higher than you imagined.
Here are just a few of the potential causes:
- Falling during a climb and hitting a hard surface
- Falling objects from climbers above you
- Falling rocks and ice due to natural causes such as strong winds, tremors etc
- Falling rocks and ice caused by climbers before you
Climbing helmets are never the most comfortable thing to wear. They obstruct your views and can get quite hot over time. But these discomforts are nothing when it comes to your safety.
If you get a head injury, you are unlikely to be able to continue on your climb. You may even need to be rescued by other climbers. Rescue operations are never easy and other climbers are risking their safety as well. And if you are in a remote location, getting you to a hospital may be tough and time-consuming.
Harness
A harness lets you tie into a rope for belaying and climbing. In the past, climbing ropes are tied directly onto the climber’s body. As you can imagine, that was very uncomfortable and can even cause serious injuries during a fall.
Types of harnesses:
- Seat harness
- Chest harness
- Full body harness
Seat Harness
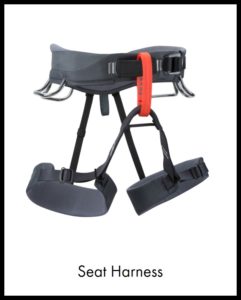
The most common harness used for climbing these days is the seat harness. The seat harness is worn around your waist, hips, and thighs.
When wearing a seat harness, the climbing rope is tied in around your navel region. During a fall, there is a risk that the climber may flip upside down.
| Learn more: Finding The Best Fit Between Men’s And Women’s Climbing Harnesses |
Chest Harness
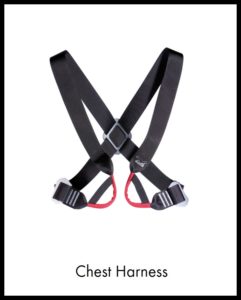
For climbs where flipping over is likely, you may add on a chest harness. Clipping the rope through the seat and chest harnesses will keep the climber upright. However, a chest harness is likely to cause injuries to the ribs during a fall. Climbers usually only clip in the rope to the chest harness after a fall to help upright themselves.
Full Body Harness
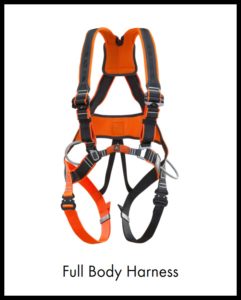
The body harness is an integrated chest and seat harness. The rope is tied in around the chest area. A body harness can better distribute the impact of the force throughout the body. It is less likely o cause injuries than the seat or chest harnesses. However, they are bulkier and typically more expensive. It’s not commonly used in climbing.
But children should use body harnesses instead of seat harnesses. Their hips are usually not fully developed and they have a higher center of gravity. They are more likely to flip upside down when using a seat harness.
Ropes
Types of ropes:
- Dynamic ropes
- Single ropes
- Twin ropes
- Double/ half ropes
- Static ropes
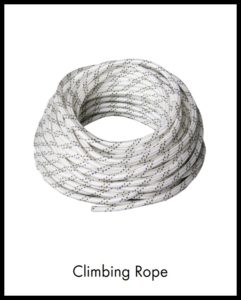
Dynamic Ropes
All ropes used for climbing have to be dynamic ropes. Dynamic ropes can stretch and elongate when loaded. This will absorb the impact during a climber’s fall.
There are three types of dynamic ropes — single ropes, twin ropes or double/ half ropes.
Single ropes can be used as a single strand while twin and double/half ropes have to be used in a pair.
| Learn more: What Are The Differences Between Double/ Half And Twin Ropes? |
The diameter of dynamics ropes ranges from 7mm to 11mm. Single ropes are generally thicker than twin and double/ half ropes.
The typical lengths of dynamics ropes are from 30 meters to 80 meters (100 feet to 260 feet). The length of rope you need has to be at least twice the length of the route. For example, if you are climbing a 100-foot tall wall, you will need 200 feet of rope.
Static Ropes
In contrast, static ropes do not stretch and elongate. Static ropes are used for transporting equipment or doing rescue operations. You do not want the ropes to stretch when you are hauling gear or injured climbers.
| Learn more: What Is The Best Rope For Scrambling? |
Carabiners
The workhorse of all your climbing gear. You use carabiners for almost everything — belaying, rappelling, clipping into safety anchors and securing ropes to protection points.
Carabiners come in 4 different shapes — oval, D-shaped, offset D-shaped and pear-shaped. D-shaped and offset D-shaped carabiners are stronger than the oval and pear-shaped carabiners.
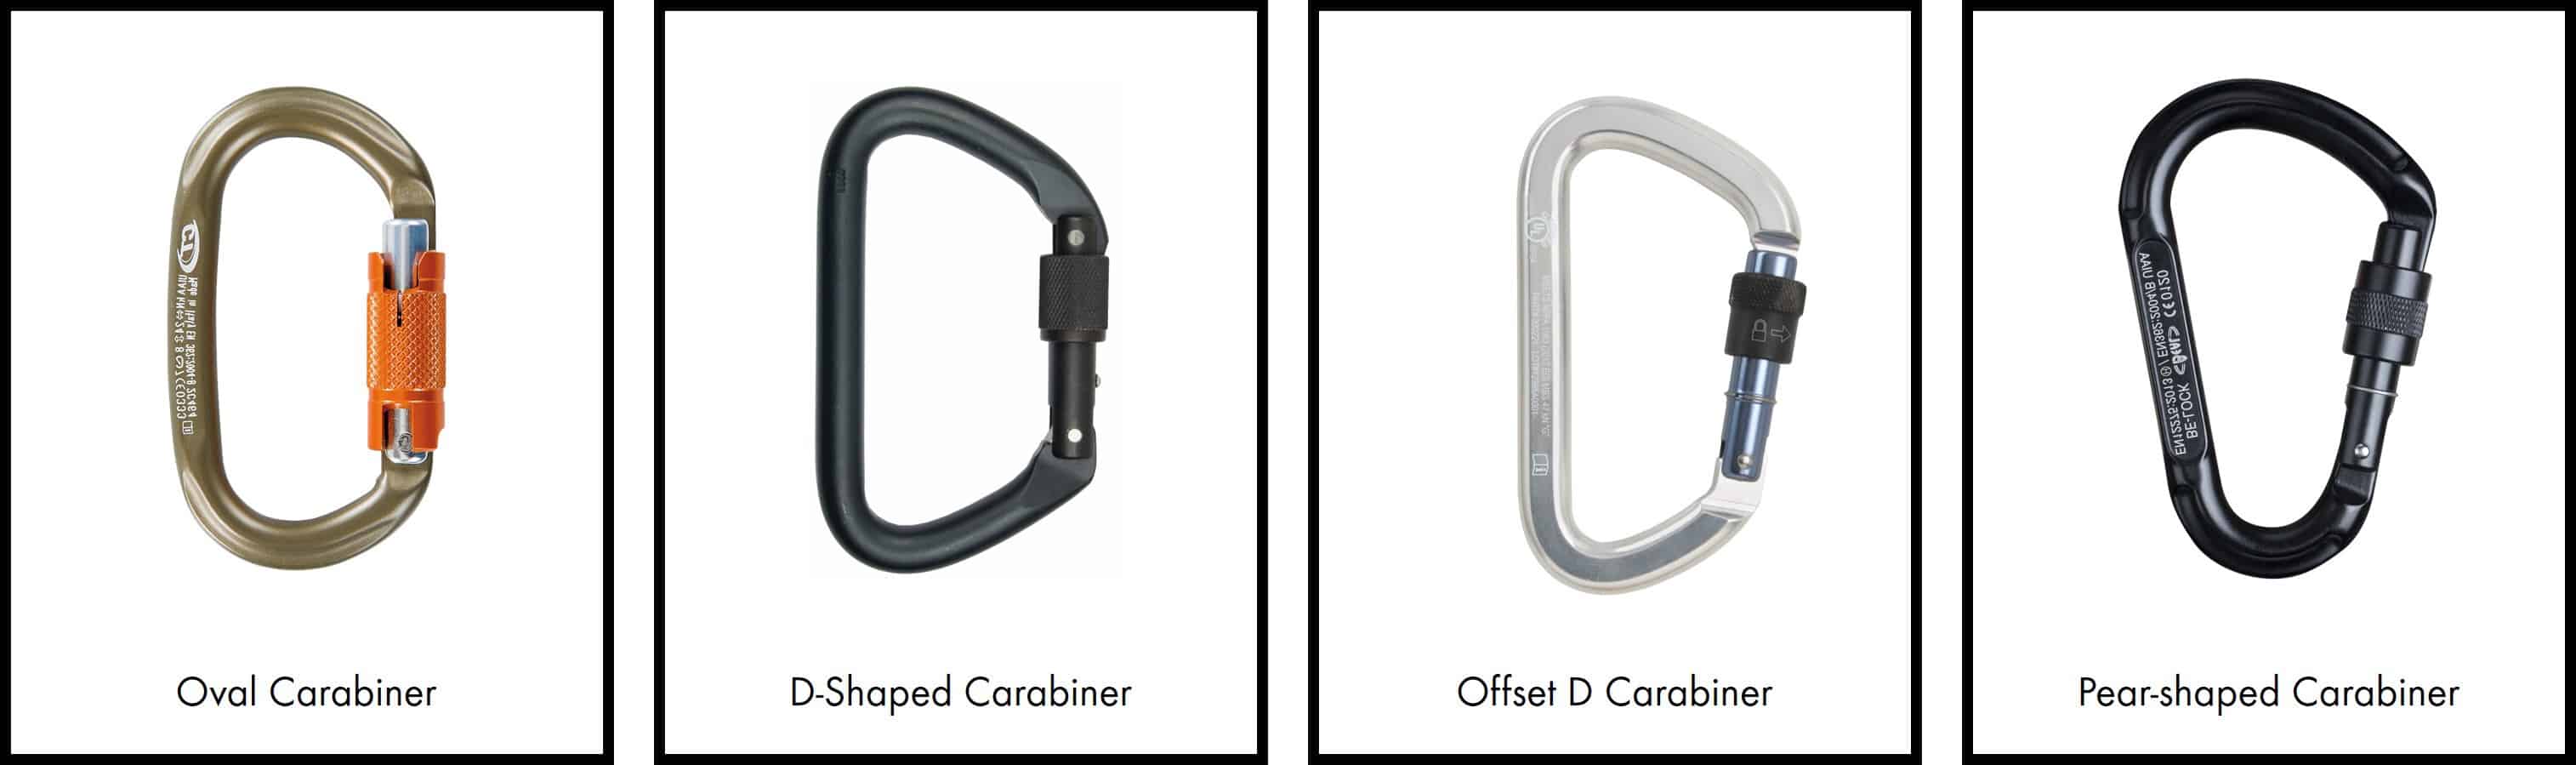
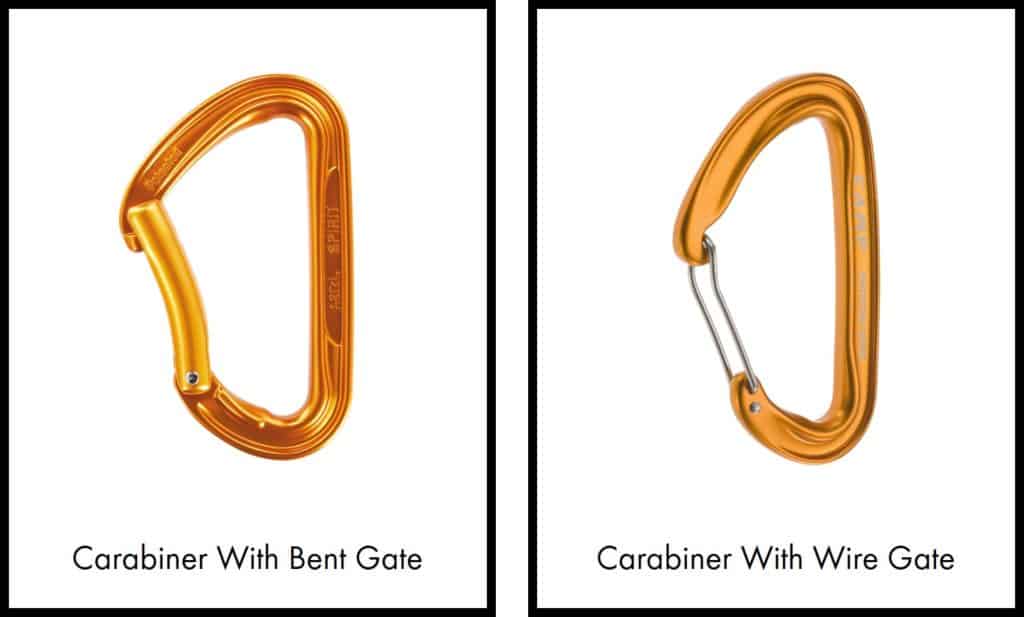
The gate of the carabiners also has several variations — straight, bent or wire gate. Bent gates make it easier to clip ropes in and out of the carabiners. Wire gates are a lighter and stronger version of the traditional gates.
Carabiners with straight and bent gates may also come with a locking mechanism. This ensures that the gates do not open during a climb. It will be disastrous if a rope comes out from the carabiner of an anchor point.
| Learn more: How To Rappel With A Carabiner? |
Runner/ Slings
I was confused when I first read about webbing, cords, runners, slings, and quickdraws. Articles often lump them together without really explaining their differences.
So, let me try to clear up the confusion here.
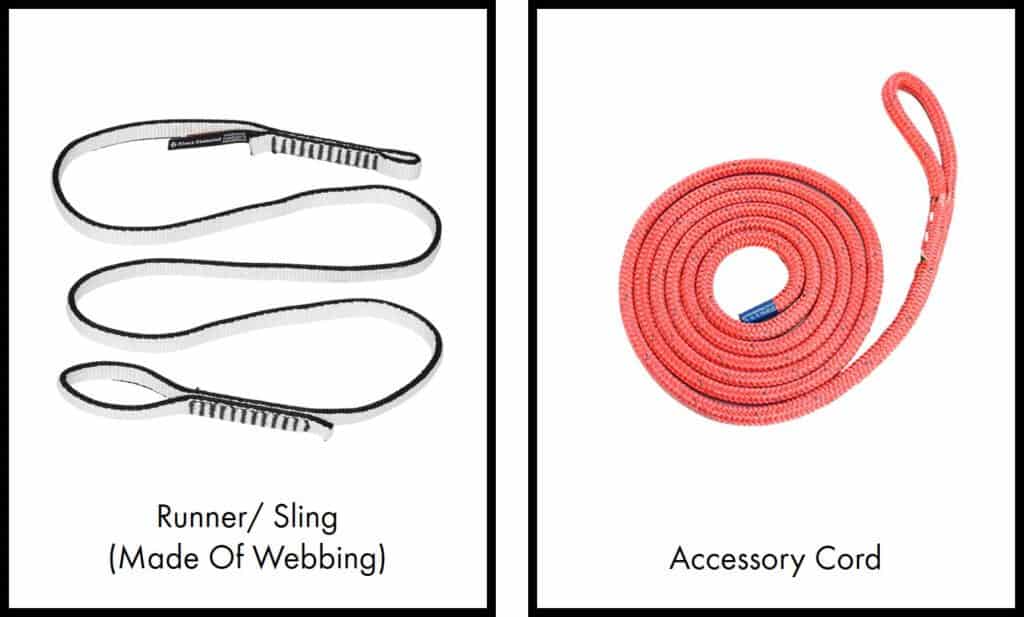
Runners and slings are referring to the same thing. They are used to set up anchors and belay points.
Webbing and cords are the materials used to make runners and slings.
Webbings (also known as tubular webbings) are made of fabric woven together into a flat strip or tube. Webbings can be sewn or tied to form a runner or sling.
Cords (also known as accessory cords) are an alternative to webbings. They are a type of static rope. You can tie a cord into a loop to make a runner or sling.
| Learn more: How To Set Up Top Rope Anchor With Sling, Static Rope, Webbing, Quickdraw? |
A quickdraw is made with 2 carabiners secured to both ends of a sewn webbing.

Belay Device
A belay device functions as a brake by adding friction to your climbing rope.
Types of belay devices:
- Aperture devices
- Slot plate
- Tubular
- Figure 8
.
- Self-braking devices
- Aperture-style
- Spring-loaded
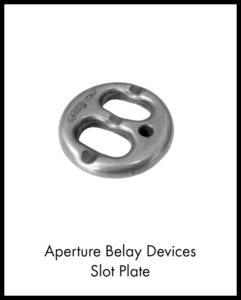
Aperture Belay Devices
Aperture belay devices provide an opening for a loop of rope to pass through. This loop is clipped by a locking carabiner which is then secured to the harness.
Aperture devices come in many shapes and forms.
Slot Plate
A slot plate is a flat plate.
Tubular
A tubular belay device is in a tubular or cuboid shape.
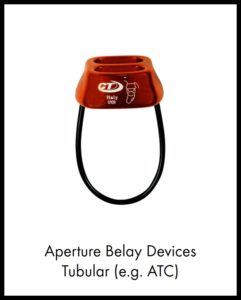
The ATC is a common type of tubular belay device.
| Learn more: How To Belay With An ATC |
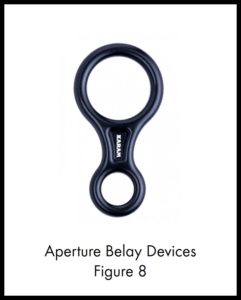
Figure 8
The Figure 8 belay device is in the shape of the number 8. Figure 8 are more commonly used for rappelling. But some figure 8 devices are designed for belaying as well.
Self-braking Belay Devices
Self-braking belay devices are also known as self-locking, autolocking, or mechanical-assisting belay devices.
While aperture belay devices rely completely on the belayer to stop a fall, self-braking belay devices have an internal mechanism that will lock down on the ropes during a fall. However, you should still keep your brake hand on the rope when using a self-braking belay device.
These mechanisms do not work with ropes of any diameters. You will have to check the manufacturer’s specifications before use.
There are 2 types of self-braking belay devices — aperture-style and spring-loaded.
Aperture-style Self-braking Belay
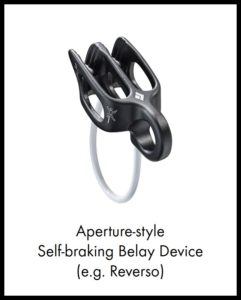
Aperture-style self-braking belay devices look like aperture belay devices. They have 2 extra loops for self-braking. Since they lock up under loading, they are not effective for rappelling or lowering of climbers.
The Reverso is a common type of aperture-style self-braking belay device.
Spring-loaded Belay Devices
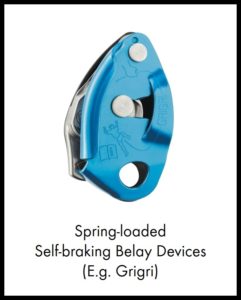
Spring-loaded belay devices have an internal cam that locks down on the climbing rope during a fall. They also have a mechanism that can release this lock for rappelling or lowering of climbers.
The Grigri is a common type of spring-loaded belay device.
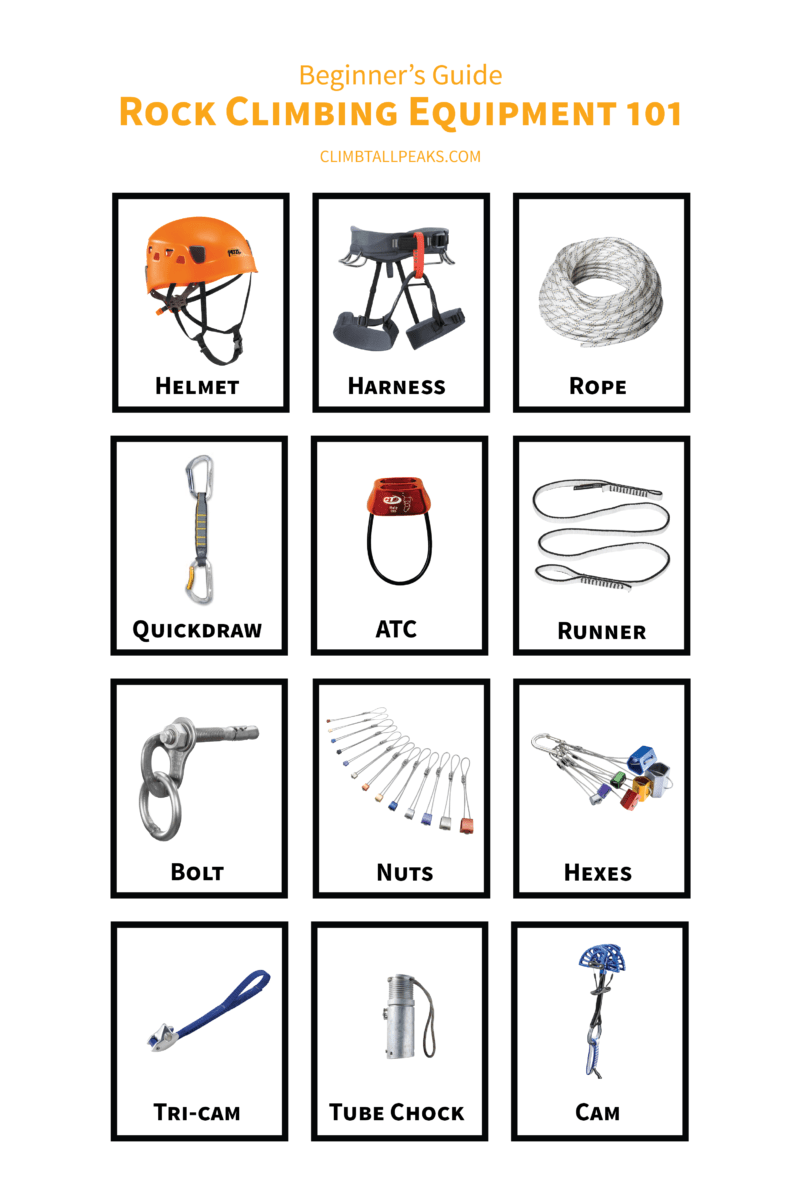
Rock Climbing Anchors
If you are rock climbing, you will also need anchors. These connect the climber and belayer to the rock and help to stop a fall.
Types of rock climbing anchors:
- Fixed anchors
- Bolts
- Pitons
- Removable anchors
- Passive
- Nuts
- Hexes
- Tri-cams
- Tube chocks
- Active
- Cams
- Passive
For well-established routes, you will often find fixed anchors put in place. You will also find fixed anchors at climbing gyms.
When there are no fixed anchors in place, climbers will use removable anchors. This is also better for the environment as you do not damage the rocks and mountains.
Fixed Rock Climbing Anchors
There are 2 types of fixed anchors — bolts and pitons.
Bolt
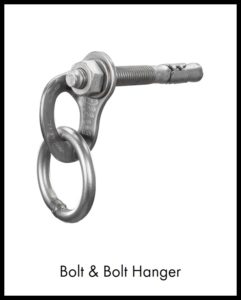
A bolt looks like a large tubular screw. Bolts are more commonly today used than pitons.
Climbing bolts come in 10mm, 12mm, and 14mm in diameter. A bolt typically has a bolt hanger where you can clip in a carabiner. This is what you see in climbing gyms.
However, not all bolts have bolt hangers when climbing outdoors. It is a good idea to bring some spare bolt hangers when climbing.
Piton
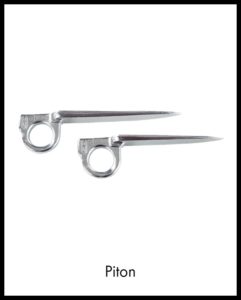
A piton looks like a sharp wedge. A piton has an opening where you can clip in your carabiners directly.
Pitons are not as common these days as they are more damaging to the rocks when placing and removing them. They are also less resistant to weathering.
Removable Rock Climbing Anchors
Removable anchors are also known as chocks.
There are 2 main types of removable anchors — passive and active. Passive anchors have no moving parts while active anchors have moving parts.
Removable anchors are placed into existing cracks and openings in the rocks. You do not hammer or screw them into the rocks.
Passive Rock Climbing Anchors
A passive anchor is made up of a small metal piece that is attached to a cable. You can find them in many shapes and sizes to deal with different rock conditions.
The type of anchor to use depends on the rock cracks. Choose one which allows the most of the metal to come into contact with the rock. This will be the strongest option.
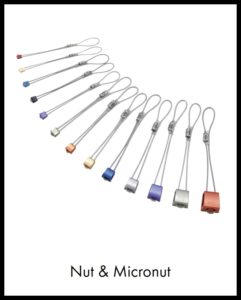
Nut And Micronut
A nut comes in a trapezoid shape. It can also be called a stopper or wedges. A micronut is a very small nut.
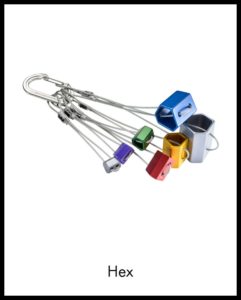
Hex
A hex has a hexagonal shape.
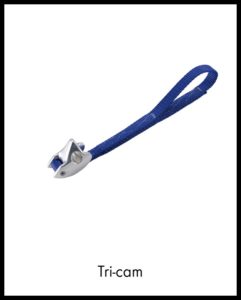
Tri-cam
A tri-cam is rounded on one side and has a sharp point on the other.
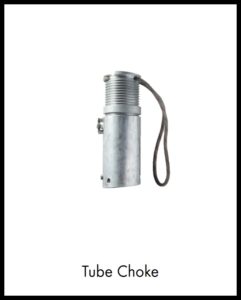
Tube Choke
A tube choke has a tubular shape.
Active Rock Climbing Anchors
It is not easy to find a passive anchor with the right shape and size that can fit into a rock crack.
The active anchor is the solution to that. An active anchor has a moving part that can be contracted with a lever. You can then slot the anchor into the rock crack and release the lever. The anchor opens up and secures itself to the rock surface.
Cam
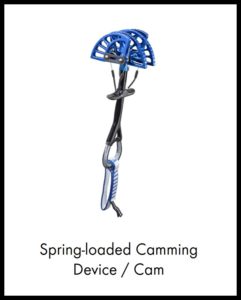
The spring-loaded camming device, or more commonly known as cam, is an active anchor. It has 3 to 4 semi-circled metal pieces. These pieces contract and expand by pressing on the lever.
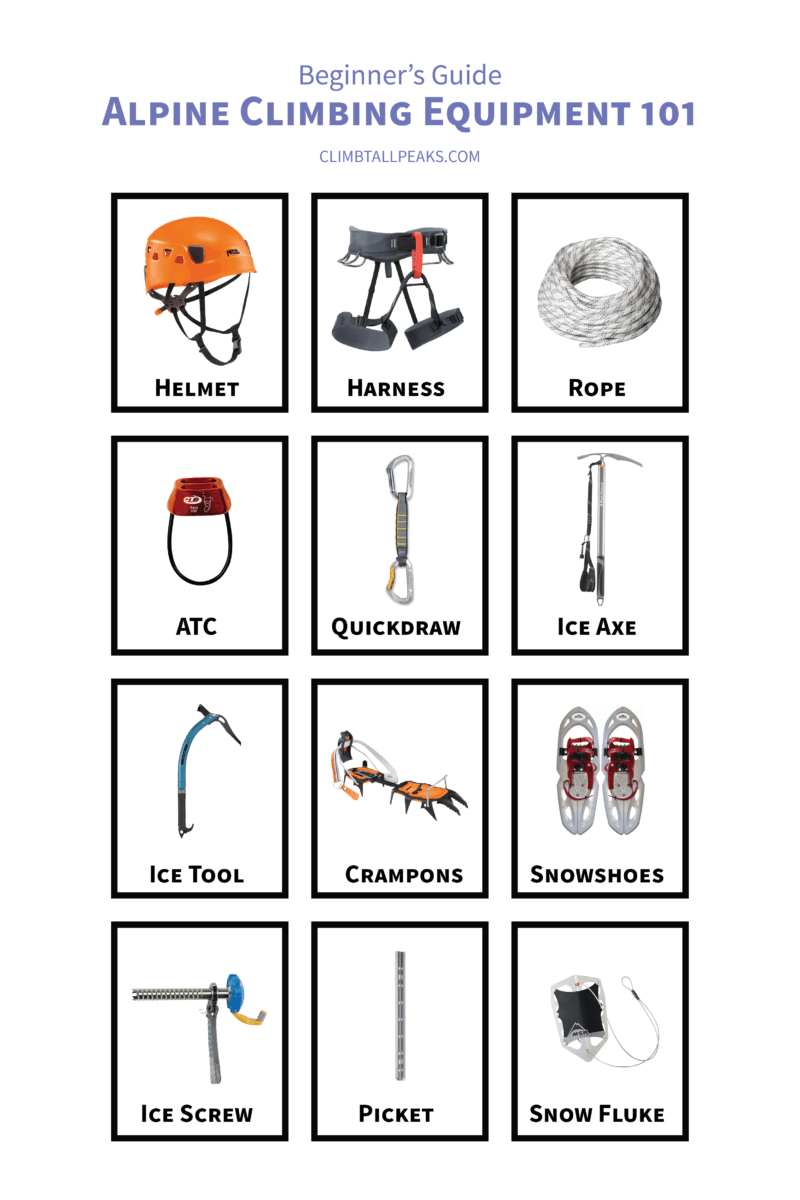
Ice Axe
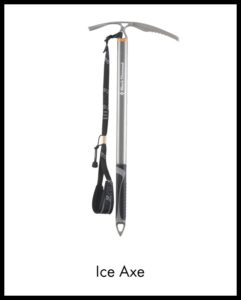
An ice axe is a multi-purpose tool used for climbing in snowy or icy terrains.
There is a whole spectrum of ice axes with different designs and lengths. The length and design you choose will depend on your height and what you are using the ice axe for.
The lengths of ice axes vary from 40 cm to 90 cm (16 in to 35 in). As a general guide, a taller climber will need a longer ice axe. And the steeper the terrain, the shorter your ice axe should be.
| Learn more: Review Of The Best Ice Axe For Beginners |
There are many uses of an ice axe, here are some examples:
- Use as a hiking stick for better balance and support
- Chop or cut steps into hard snow or ice
- Anchor yourself during going up a steep slope
- Perform self-arrest when you slip and fall
- Build an anchor for belaying
| Learn more: How To Use An Ice Axe? |
Ice Tool
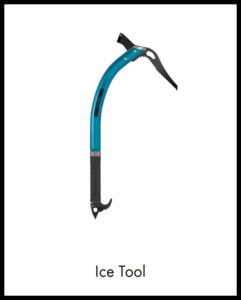
An ice tool is a specialized form of ice axe used for technical ice climbing.
Ice tools are ice axes that are shorter than 60 cm (24 in). Anything longer than 70 cm (28 in) will not be useful for technical ice climbing.
An ice tool has a hammerhead on its head. This is used to drive in anchors into ice.
| Learn more: What’s The Difference Between An Ice Axe And Ice Tool? |
Crampons
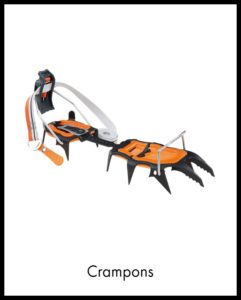
Crampons are metal spikes that you strap onto your boots. They help to increase traction over hard snow and ice.
Crampons come in different stiffness and rigidity. They also have different attachment systems.
Types Of Crampons:
- C1 crampons
- C2 crampons
- C3 crampons
| Learn more: Review Of The Best Crampons For Beginners |
C1 Crampons
These are the most flexible type of crampons. They are hinged to provide flexibility.
C1 crampons usually come with straps at the front and back for tying onto boots.
They are also the lightest type of crampons.
C2 Crampons
These are a hybrid between the C1 and C3 crampons. They are stiffer than C1 crampons but more flexible than C3 crampons. They usually have straps at the front and clips at the back for securing onto boots.
C3 Crampons
These are the stiffest and heaviest crampons. They usually come with clips at the front and back for securing onto boots.
The stiffer your crampons, the stiffer your boots need to be. You cannot wear C3 crampons with a flexible pair of boots.
However, you can put on C1 crampons with a stiff pair of boots.
| Learn more: How To Use Crampons For Walking And Climbing |
Snowshoe
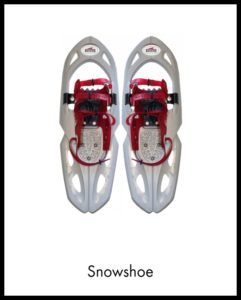
While crampons are used for hard snow and ice, snowshoes are used for walking over soft snow. Snowshoes also have some metal spikes to increase traction on hard snow.
There are no ratings for snowshoes and you can wear them with any type of footwear.
Snow Or Ice Climbing Anchors
When climbing in snow or ice, you will need anchors for rappelling and belaying. Placing anchors in snow and ice is a lot more challenging than placing them in rocks. The strength of snow and ice anchors depends largely on the strength of the snow and ice. Finding the right snow and ice conditions is as crucial as the proper placement of the anchors.
Types of ice anchor:
- Ice screws
Types of snow anchors:
- Picket
- Snow fluke
Ice Anchor
Ice Screw
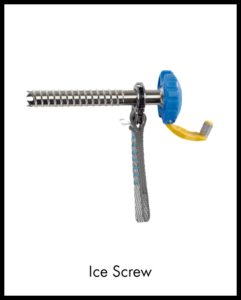
An ice screw is a type of ice anchor. The ice screw has a hollow core. When you screw the ice screw into the ice, the displaced ice will exit through the core.
An ice screw can be made of steel, aluminum or titanium. They come in 10 cm to 22 cm (4 in to 9 in).
A longer ice screw is able to hold more weight.
Snow Anchors
Picket
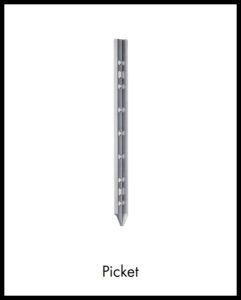
A picket is a type of snow anchor. It is an aluminum stake that is driven into the snow or ice to act as an anchor.
Pickets come in many different shapes such as round tubes, oval tubes, angled-section or T-shaped. Their lengths vary from 46 cm to 91 cm (18 in to 36 in).
An ice axe or ice tool can sometimes also double up as a picket.
Snow Fluke
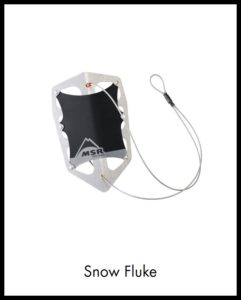
A snow fluke is another type of snow anchor. It is an aluminum plate with a metal cable attached to it.
Snow flukes work best in moist and heavy snow. If the snow condition is not ideal, they may get deflected during use and get pulled out.
This is Part 3 of 5 of the Introduction To Mountain Climbing Mini-series:
Part 1: How To Start Mountain Climbing Today
Part 2: When Do You Need Mountain Climbing Courses
Part 3: Mountaineering Tools And Equipment 101
Part 4: What To Bring For Mountain Climbing
Part 5: What Are The Dangers Of Mountain Climbing
Save these handy cue cards to Pinterest!